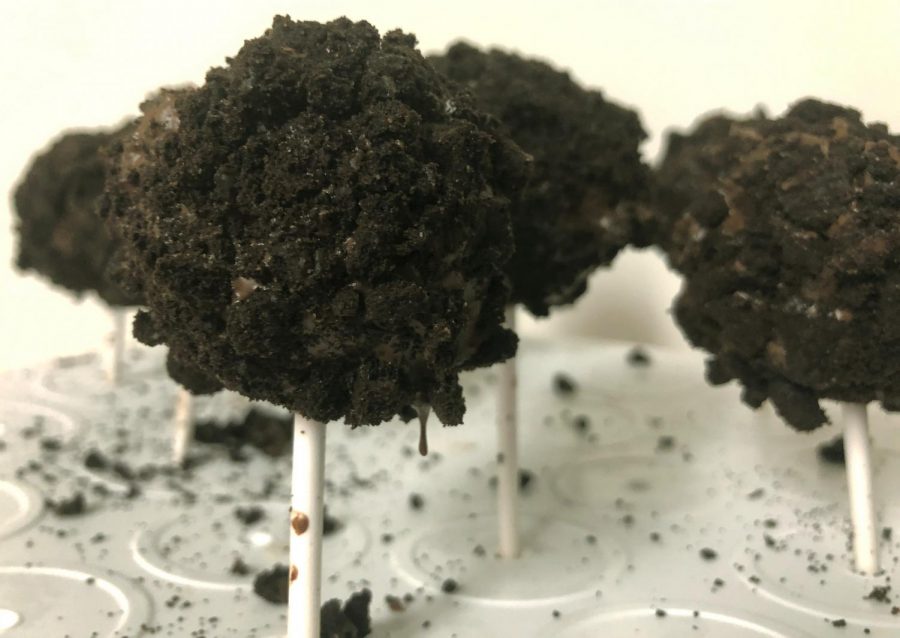
Runner recipes: Triple chocolate cake pops
These cake pops will stay moist for days if stored in an air-tight cake pop container.
October 25, 2020

It can be hard to resist a good cake pop, especially one that is fresh from the kitchen. With a delectable Oreo coating and a rich chocolate filling, these triple chocolate cake pops will satisfy the strongest of cravings!
Yield: 24-30 cake pops
Prep time: 15 minutes
Cook time: 50-60 minutes
Total time: 1-1 ½ hours
Ingredients:
1 box Devil’s Food cake mix; Pillsbury’s is recommended
10 ounces chocolate melting wafers
1 family size pack of Double Stuf Oreos
3 eggs
1 cup water
½ cup oil
Optional: 1 ½ tablespoons chocolate frosting
Treat sticks will be needed; they are typically found easily in the party supply section at major retailers, like Walmart.
Directions:
Begin preparing to make the cake pops by preheating the oven to 350F.
While the oven preheats, combine the cake mix, eggs, water, and oil in a medium-sized bowl. There should be little to no clumps left when the batter is ready to pour into a non-stick or greased cake pan.
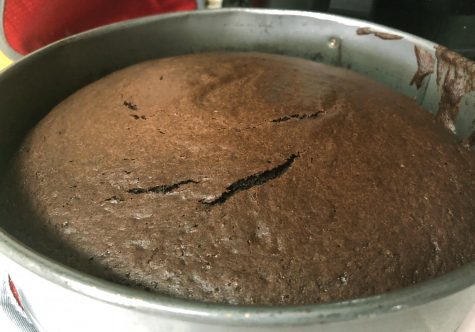
Place the cake on the middle oven rack and allow it to bake for 20 minutes, then rotate the cake to ensure even baking. Allow the cake to cook for another 15 minutes, or until a toothpick can be inserted and come out without gooey batter.
When the cake is fully cooked, allow it to sit and let the cake completely cool. This process can also be shortened by placing it briefly in a fridge.
While the cake is cooling, begin prepping the Oreos by separating two sleeves of cookies one by one so they are open faced. Using a butter knife, gently slide it under the Oreo filling with a butter knife. This will allow the filling to be removed easily.
Set the Oreo filling to the side, as this will be used after the cake cools. Once the filling is separated, the Oreo cookies are ready to be crushed. The easiest way is to place them inside a gallon Ziploc bag, then running a rolling pin over the bag until all the cookies are crushed. For those that
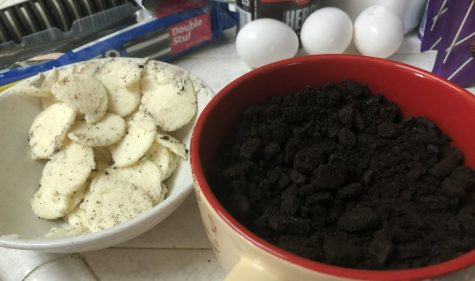
don’t have rolling pins, they can also be smashed in a large bowl using a hard spoon, such as an ice cream scoop.
Repeat this process again with the remaining sleeve of Oreo cookies, setting the cream aside for the outer coating.
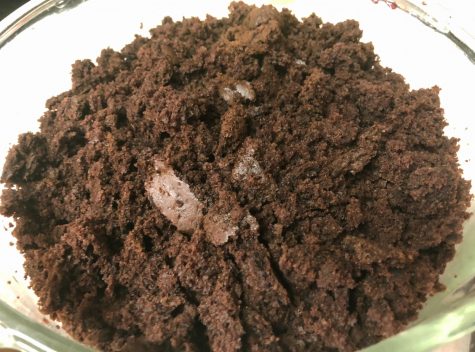
Once the cake is completely cooled off, use clean hands to crumble the cake inside of a large bowl. The cake should be broken down as small as possible. Then add the two sleeve’s worth of Oreo filling, as well as the optional frosting. Work the mixture together like cookie dough until all of the fillings have bound with the cake.
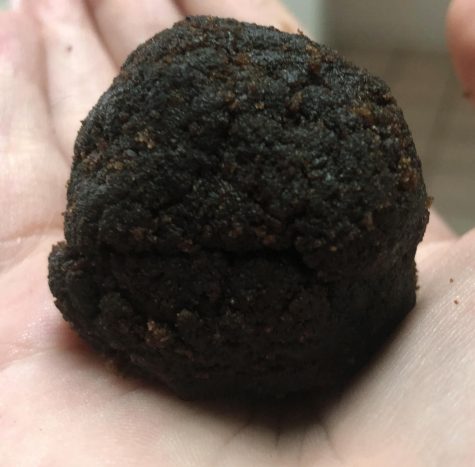
The cake should roll into a small ball form; if the cake ball is too big, it will cause the cake pop to collapse and crumble.
In a small bowl or cup, melt 2 tablespoons of chocolate wafers in the microwave. This should only take approximately 40 seconds, stirring after. Too much exposure to heat will cause the chocolate to burn and clump.
Take a treat stick and dip ¼ inch in the melted chocolate, as this will help fuse the stick to the cake pop as it sets. Carefully poke the dipped end of the stick into a cake pop, but be sure not to poke through the other side.
Repeat the process until every cake pop has a stick, then place them in the fridge to solidify. Leave them in the fridge for about 10 minutes, or until the melted chocolate has cooled and become completely solid again.
When the cake pops have solidified, melt the remaining chocolate wafers. It’s okay to use the bowl used to previously melt the chocolate for this step. Follow the same process as before.
When the chocolate is completely melted, slowly dip the cake pop in the chocolate. Be careful not to spin the stick though, as the cake pop can still easily fall apart. Instead, remove the cake pop and then repeat the dunking process until the cake is entirely covered.
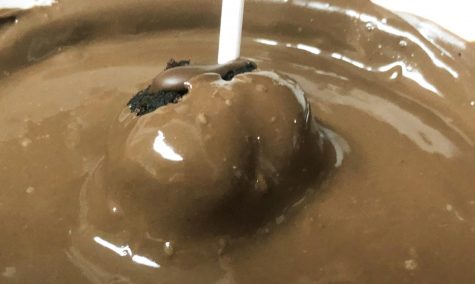
After the cake pop is covered in chocolate, sprinkle the crushed Oreo cookie until the surface is covered. Avoid dipping the cake pop into the crushed Oreos, as that will cause the cake pops to split open.
When the cookies have been applied, the cake pops are ready to transfer to their final surface. While Walmart carries a sturdy cake pop carrier, party supplier stores typically carry disposable carriers. Allow the cake pops to sit until the chocolate has completely solidified before serving.
Once the chocolate is solidified, the tasty treats are ready to serve. These rich chocolate cake pops are perfect for those with a big sweet tooth!
Have a recipe that is perfect for college students? Send it in to The Runner at [email protected] for a chance to have it featured.